LEGO 9441: Kai's Blade Cycle
Sep – Dec 2024
CAD Reverse Engineering
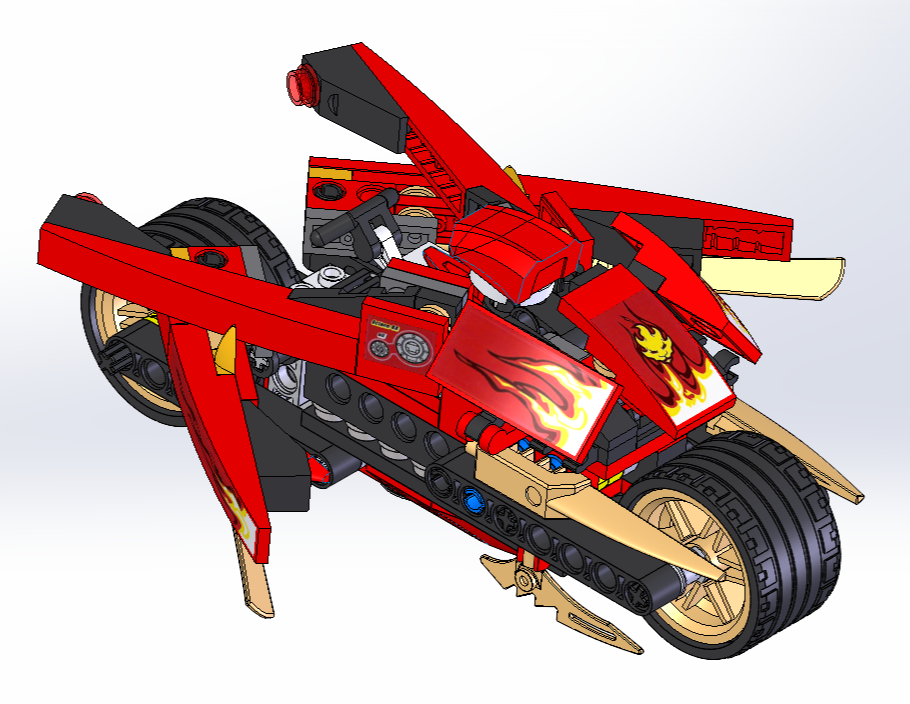
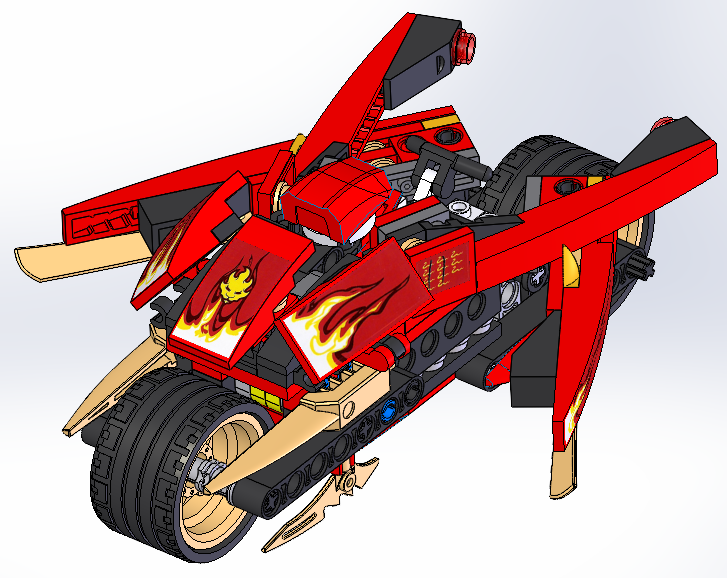
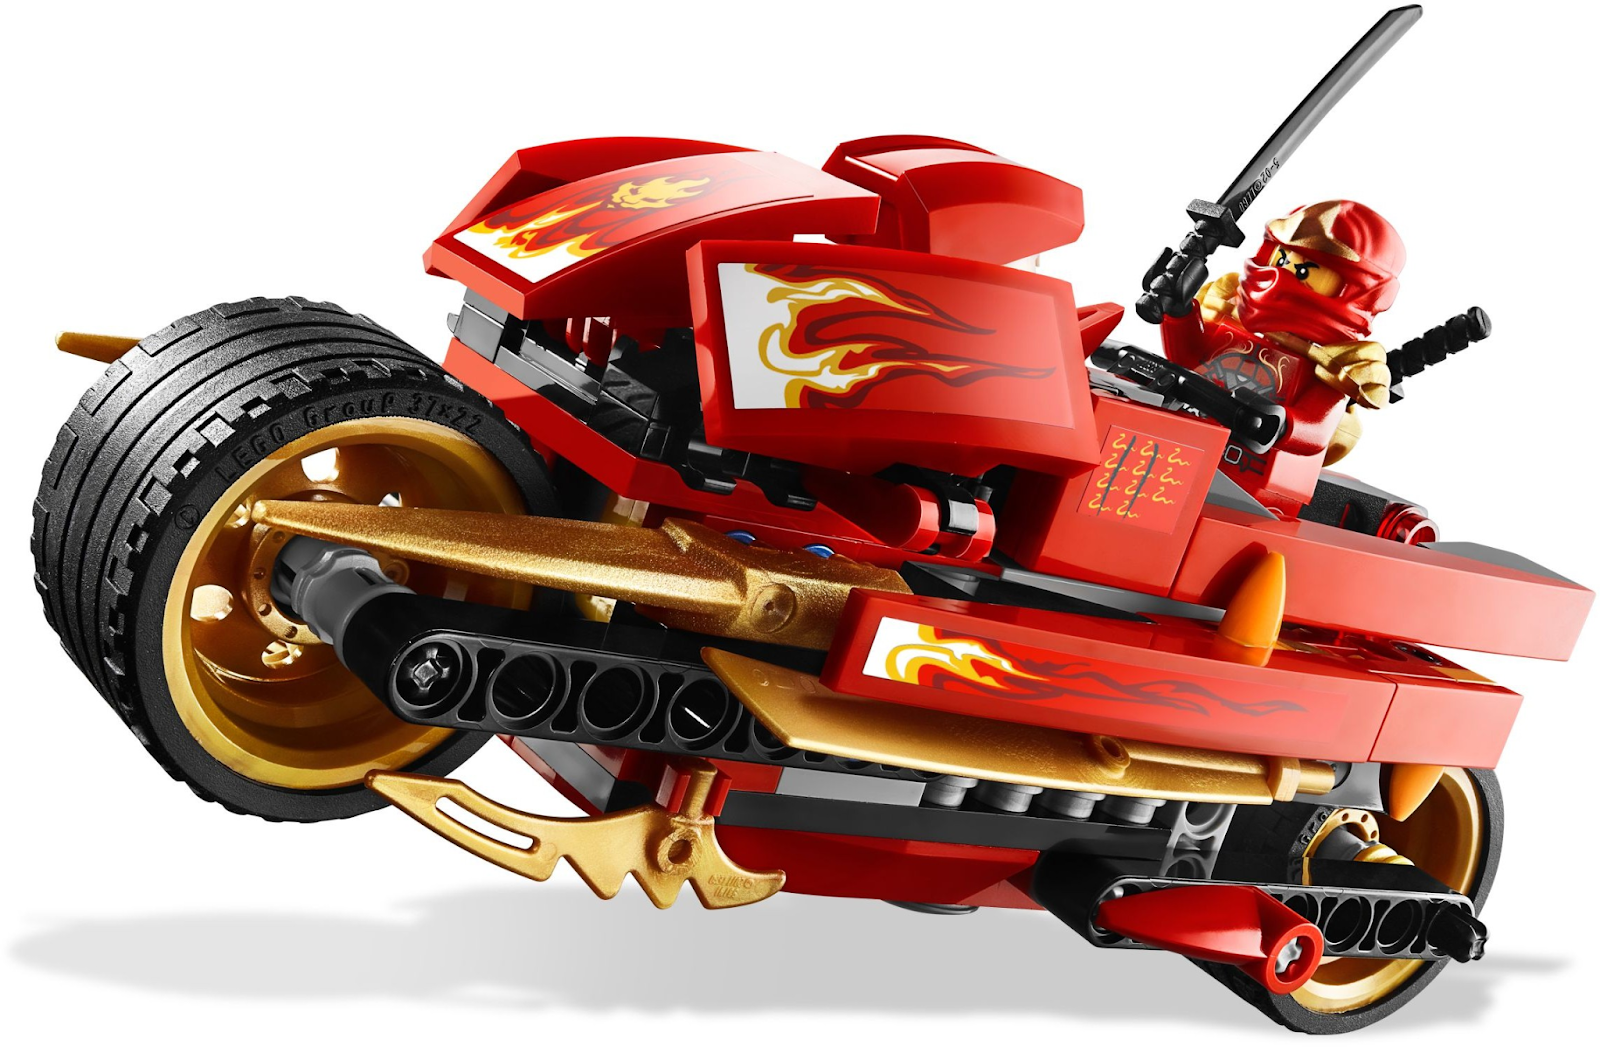
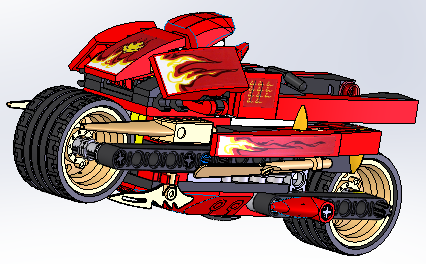
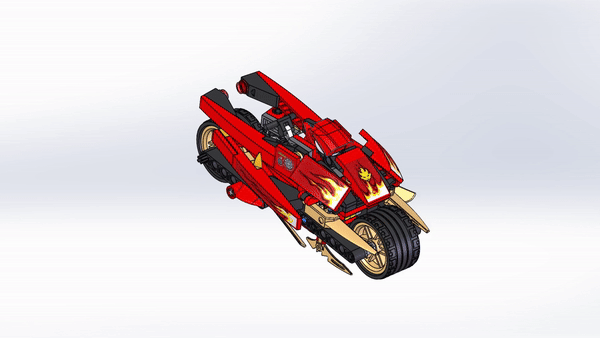
In my SolidWorks CAD course, we were tasked with reverse engineering an item with 3+ parts and moving components to apply the program skills we were developing. I chose to model my first LEGO set, Kai's Blade Cycle from the popular theme Ninjago, because of its significance to my engineering story. I was 5 years old when my mom gifted me this set and little did we both know it would spark a passion in me that decades later would culminate in a 150+ LEGO set collection. As a child, my dream was to become a LEGO designer and this eventually evolved into the desire to be an engineer. This set opened my eyes to the world of creation and I could not be more thankful today.
I spent over 120 hours on this project, meticulously measuring and reverse engineering 69 unique pieces, creating a 161-component assembly, and additionally practicing decal application, drawings, and animation! This project was very rewarding for me because it represents a full-circle moment from my past to my present self and showcases the CAD skills I have gained. I am now proficient in SolidWorks and modeling visualization, also supported by my CSWA certification. I really enjoyed the hours I spent modeling this LEGO and it prepped me for future CAD work well!


8-second animation modeling all moving features (handle, wheels, top button, upper and lower wings) created using SolidWorks Motion Study. Notice how pushing down the upper button opens the wings. Likewise, closing the wings pushes the button back up.
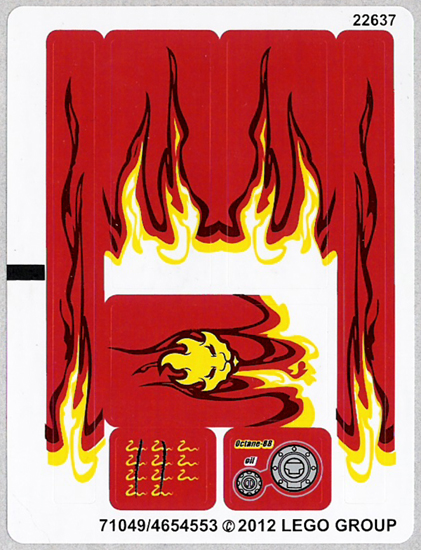
Stickers added as decals for realism.
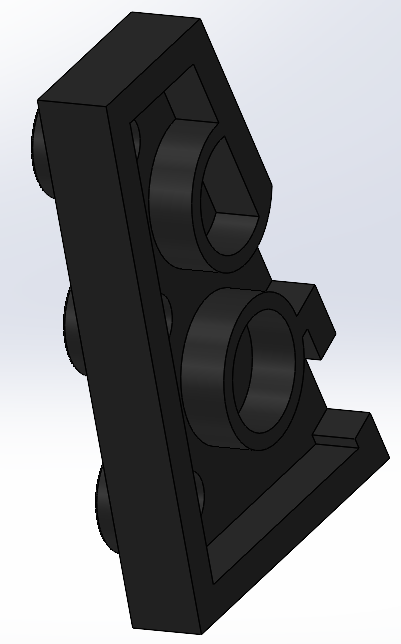
Fully dimensioned drawings of the 3 most unique parts.
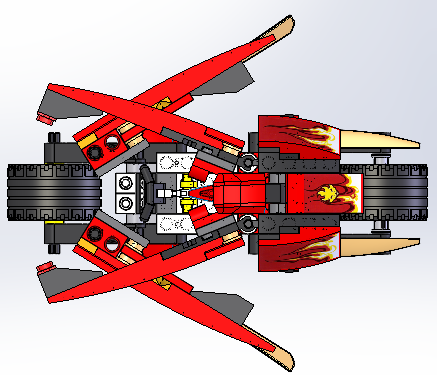
Top-view assembly, exploded view, and BOM. I plan to use subassemblies in the future.
Slide show used at the final class presentation.
It was really cool to see just how detailed LEGO pieces can be! I had never realized it before but there is a lot more that goes into the parts so they all work together. I followed the build instructions when creating and assembling each piece (which I did simultaneously throughout the project). The full piece list can be found at the end of the instructions.

 4180536
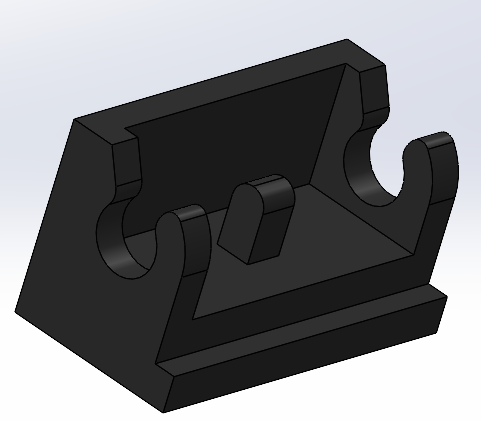 393726
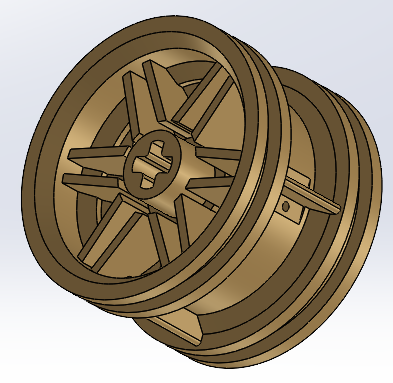 4648531
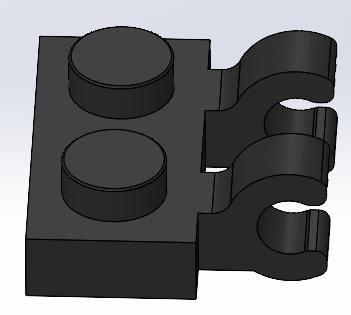 4556158
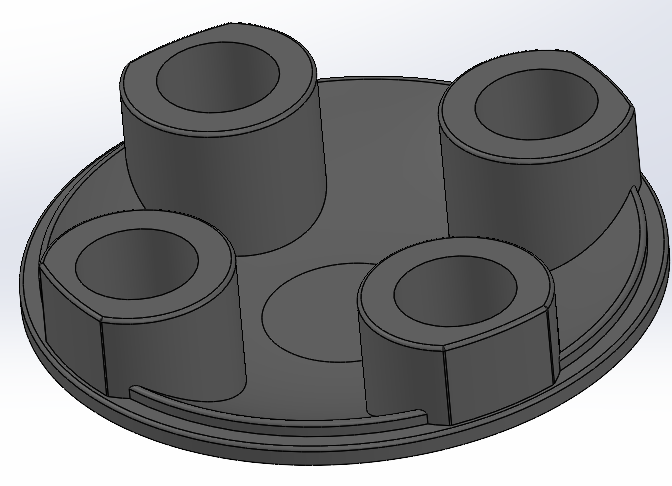 4278274
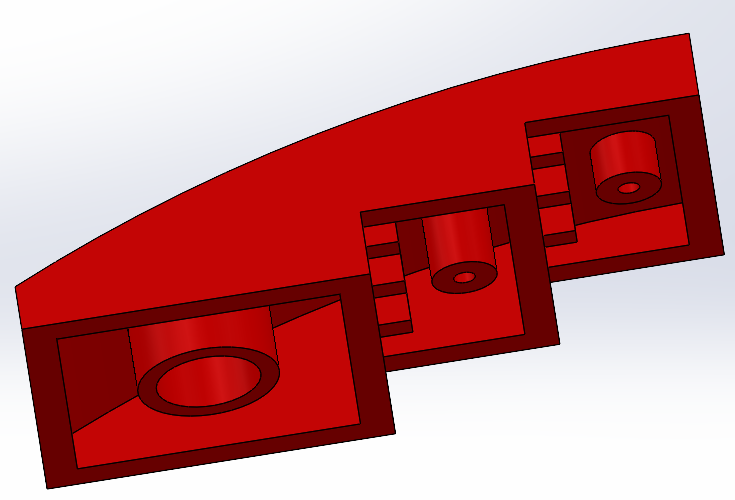 4613174
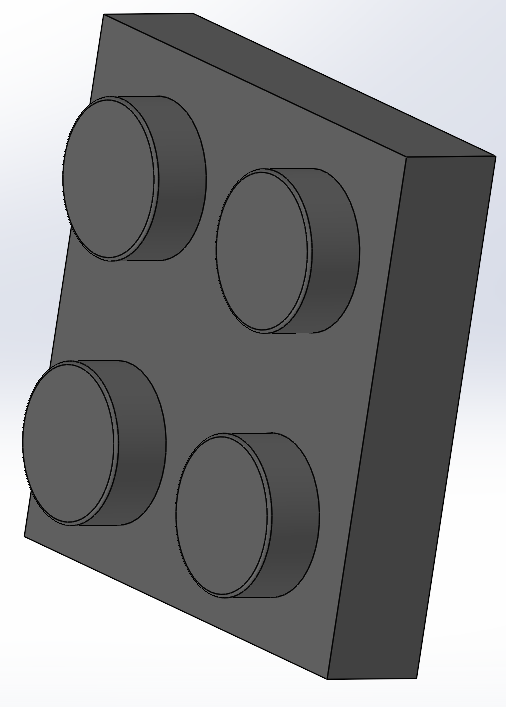 4211094
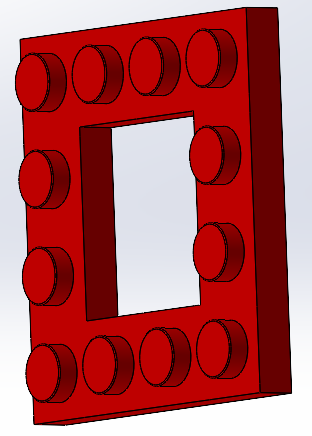 4580871
 306821
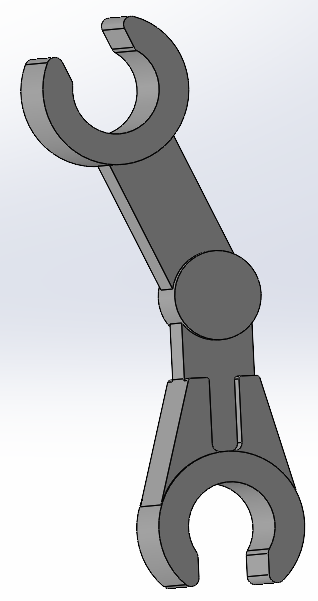 4260649
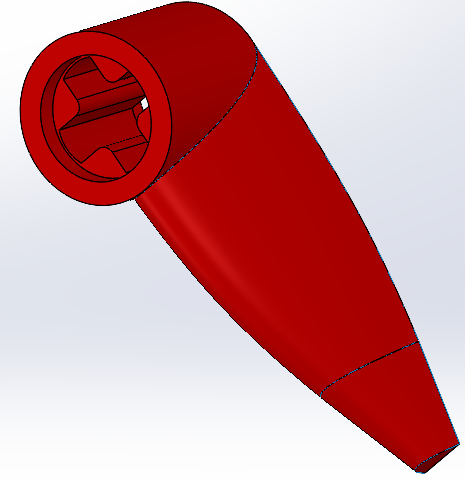 4185661
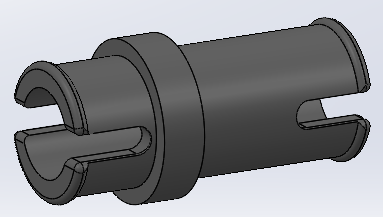 4211050
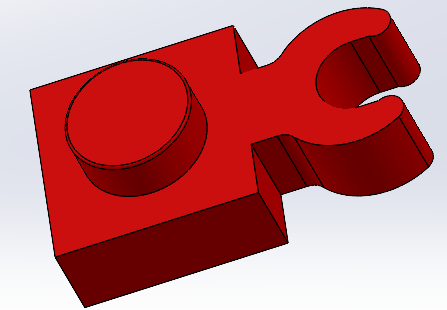 4588003
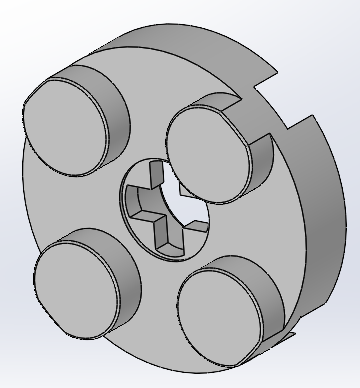 403201
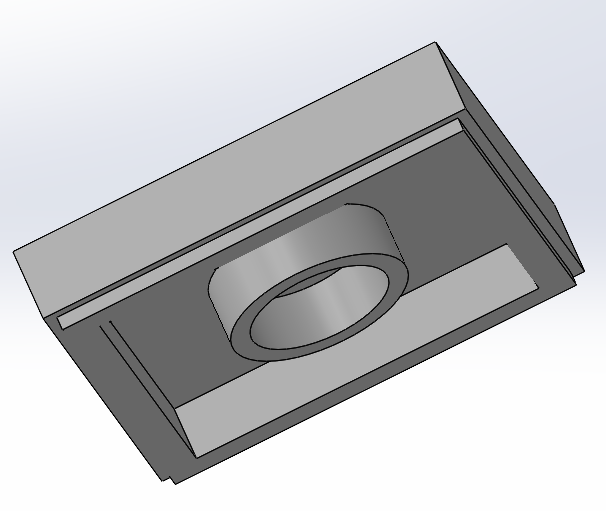 306801
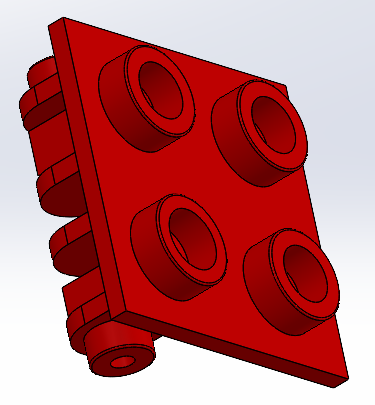 613421
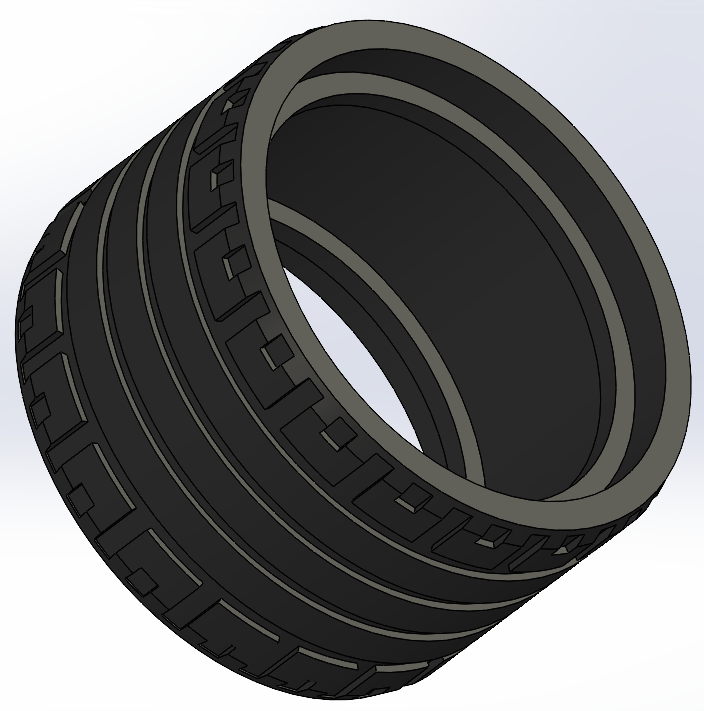 4499234
 4173970
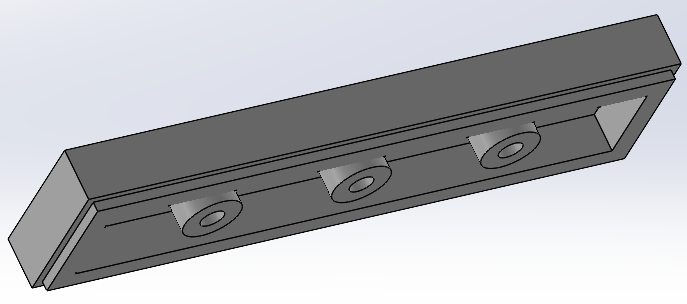 243101
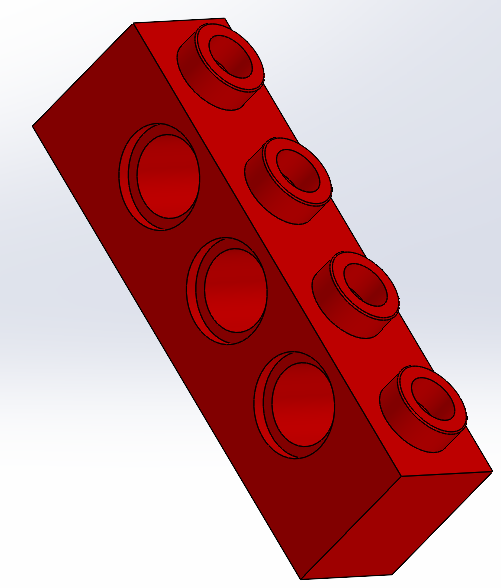 370121
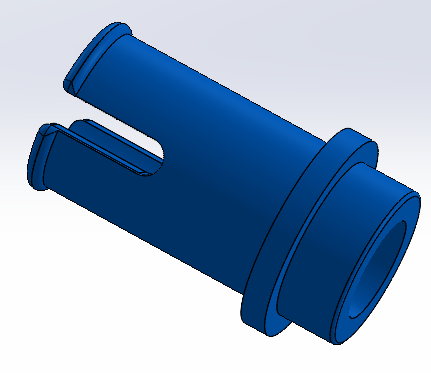 4143005
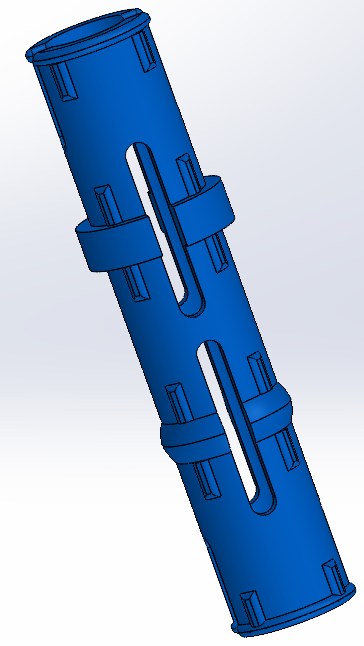 4514553
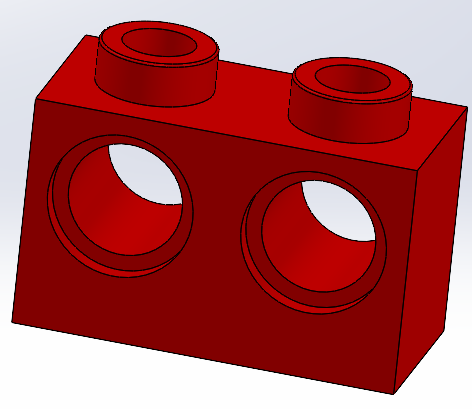 4179355
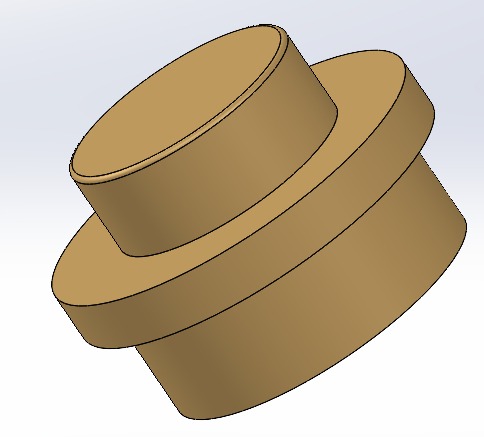 4523159
 4567887
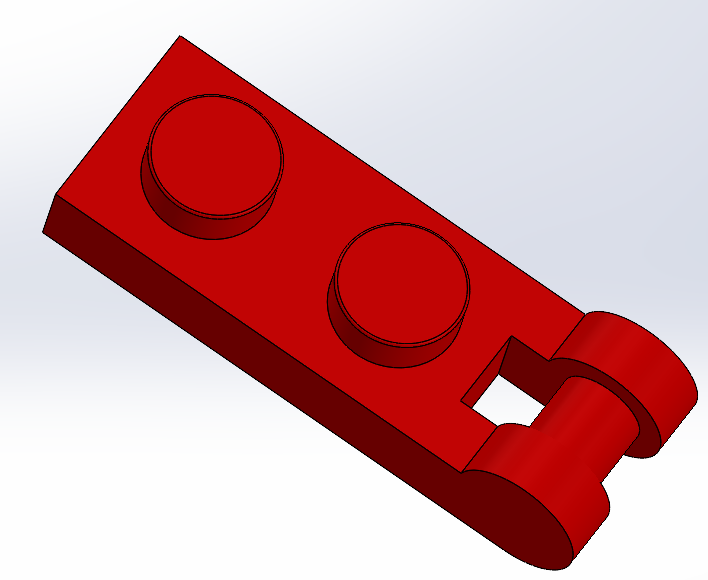 4515365
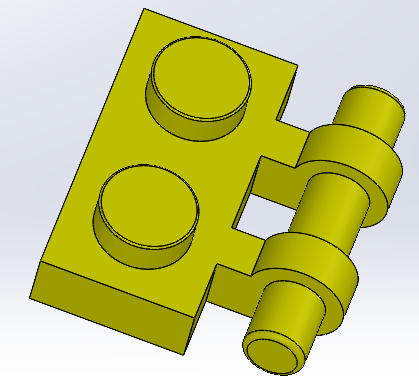 4140587
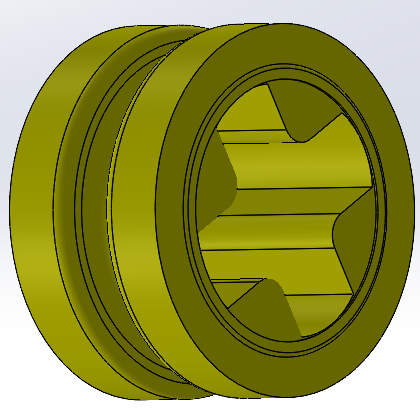 4239601
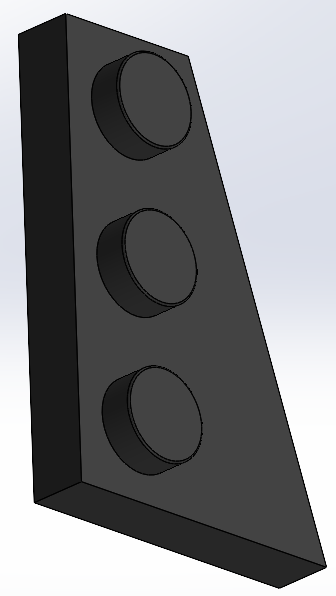 4180508
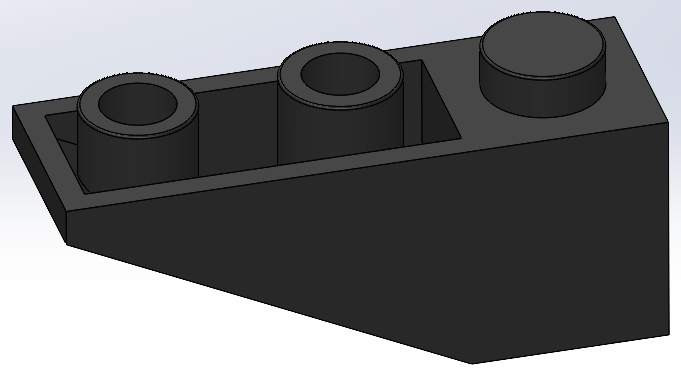 428726
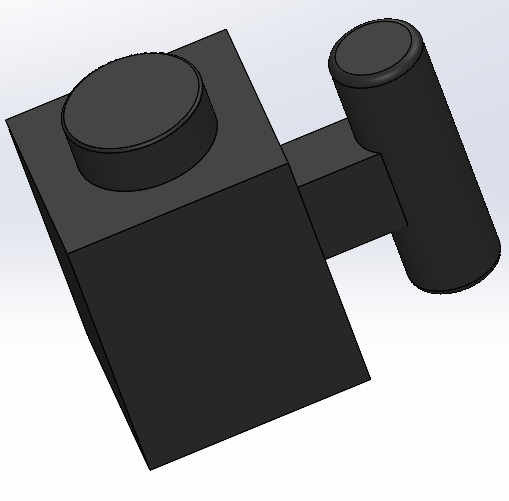 292126
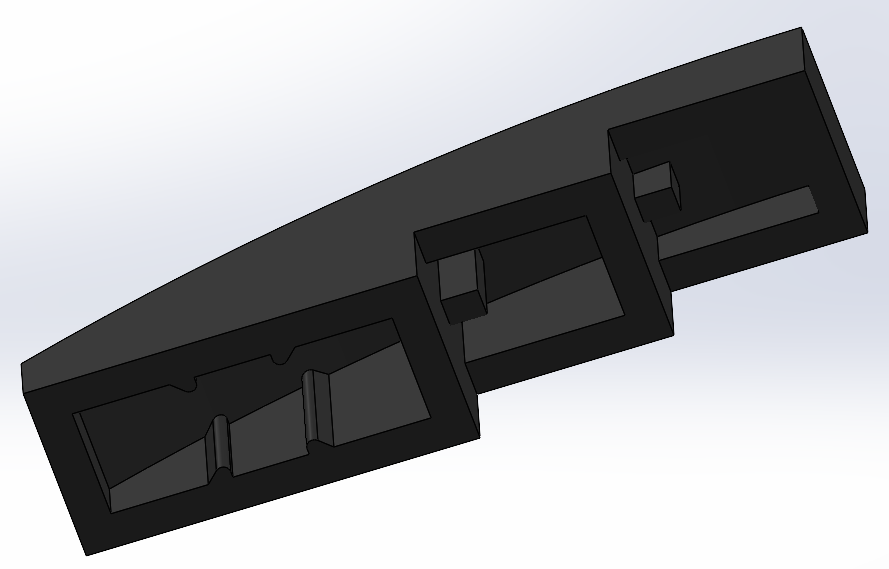 4522034
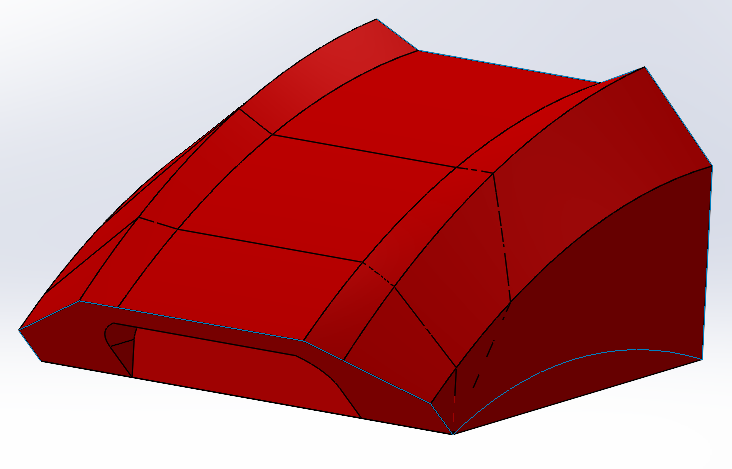 4144413
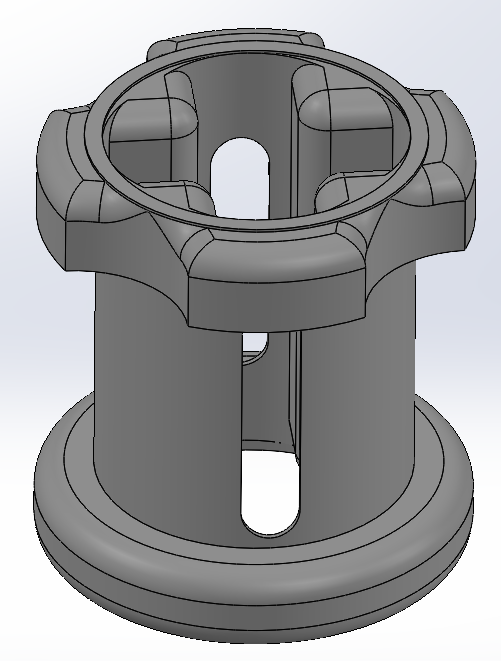 4211622
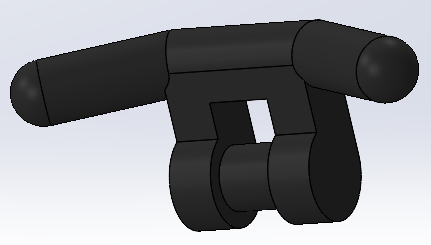 3003126
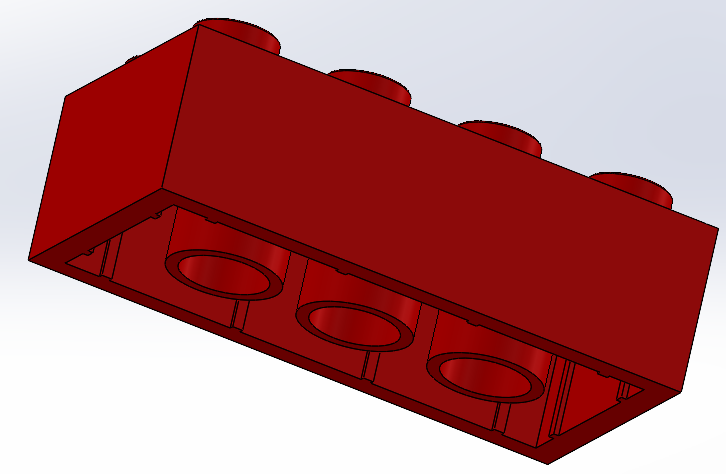 300121
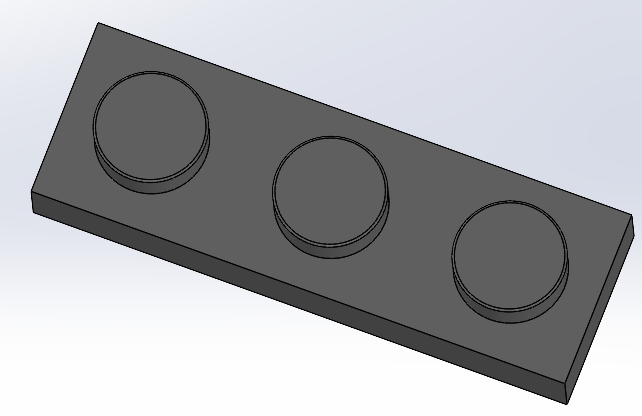 4211133
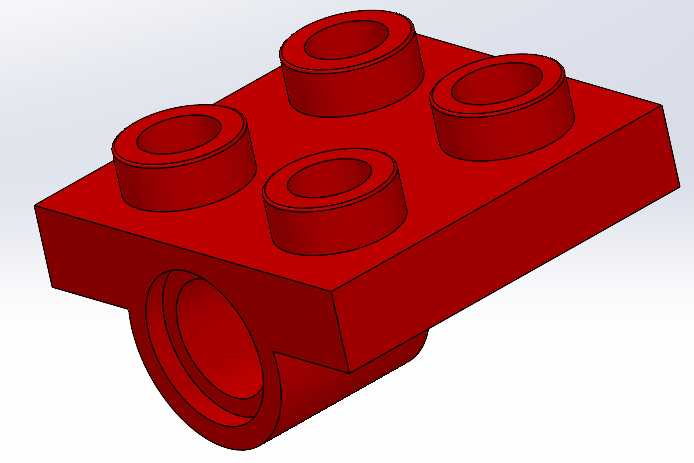 244421
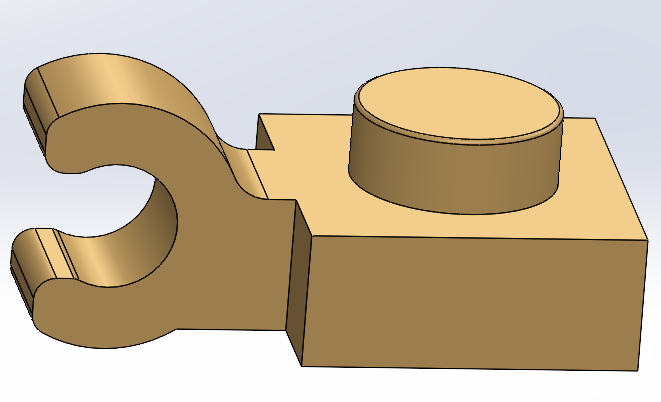 4523160
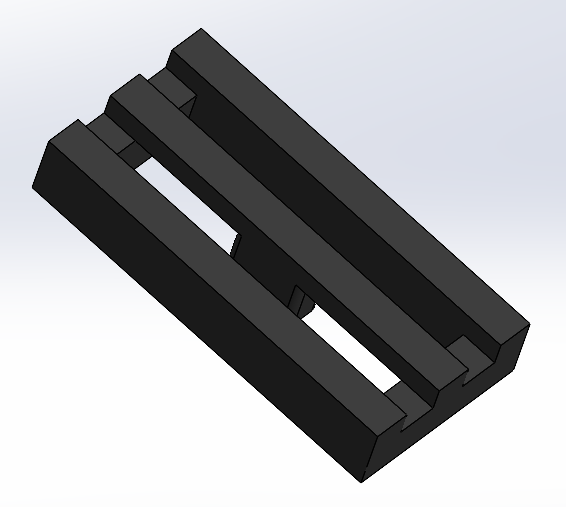 241226
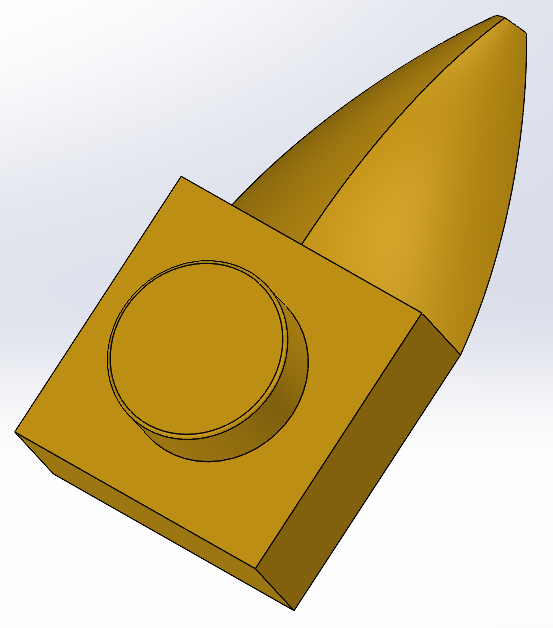 4282860
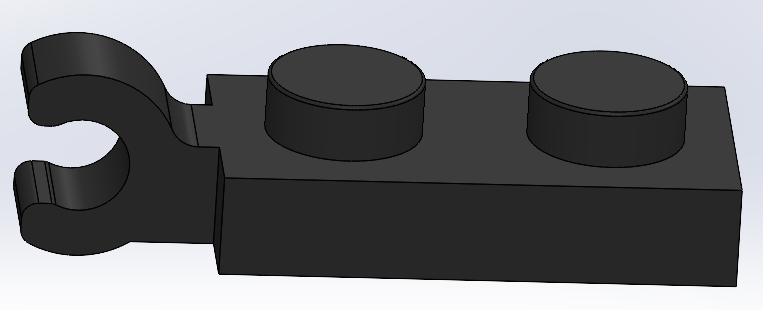 4535739
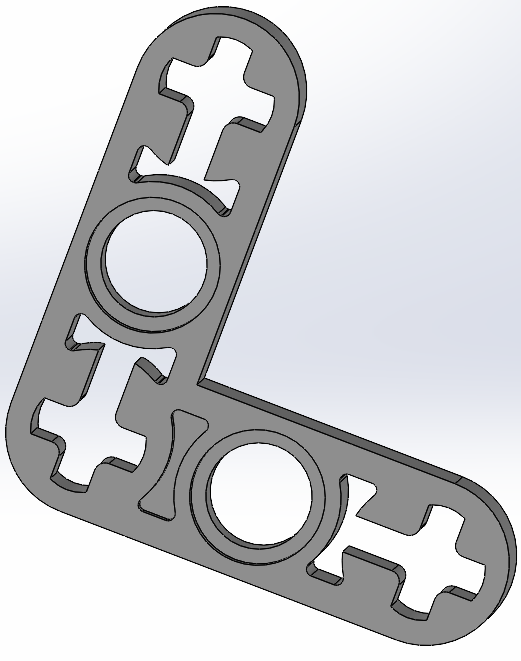 4211574
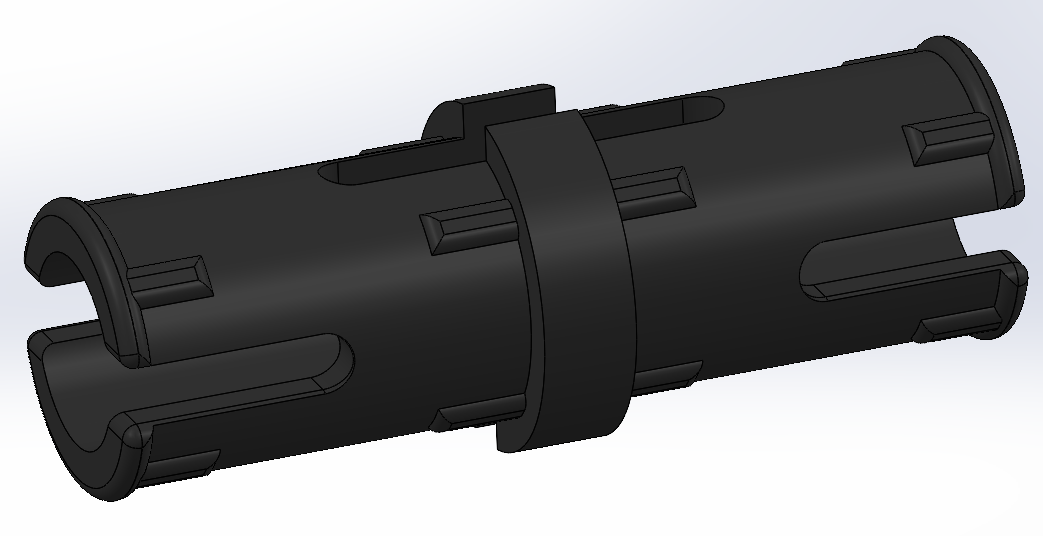 4121715
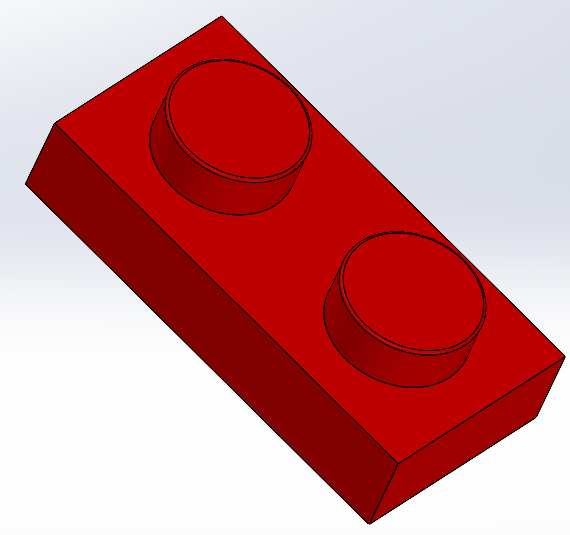 302321
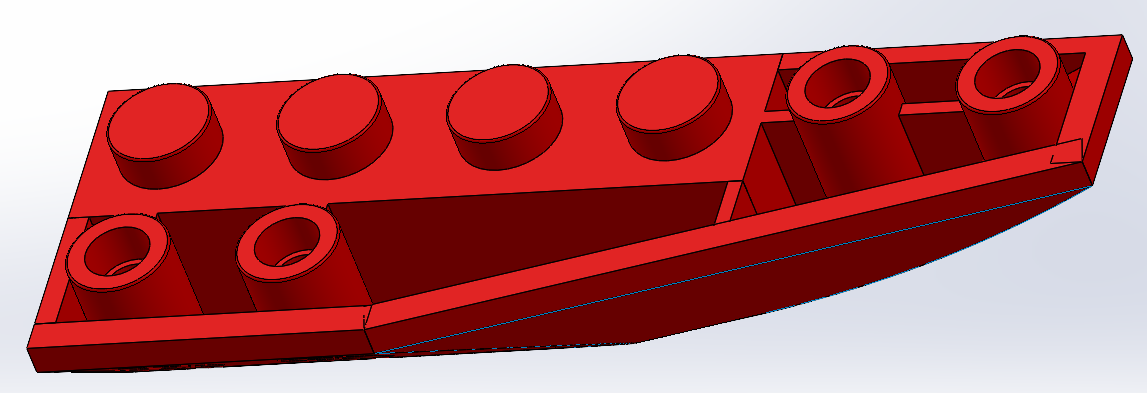 4544431
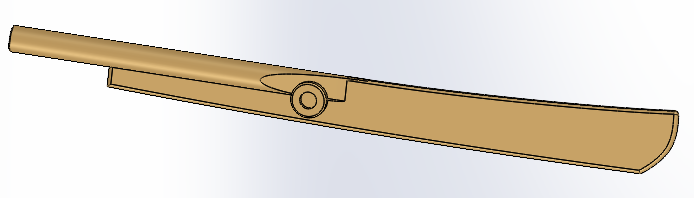 4646843
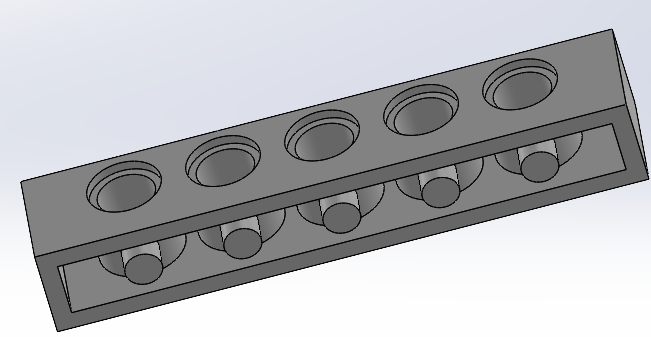 389401
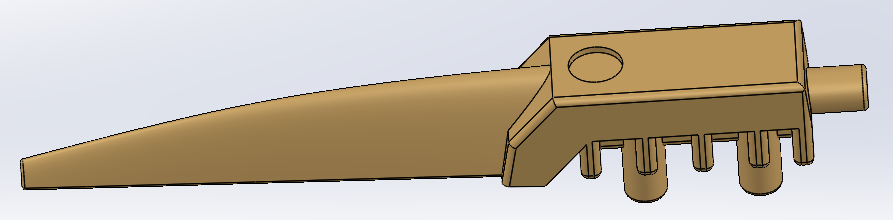 4650518
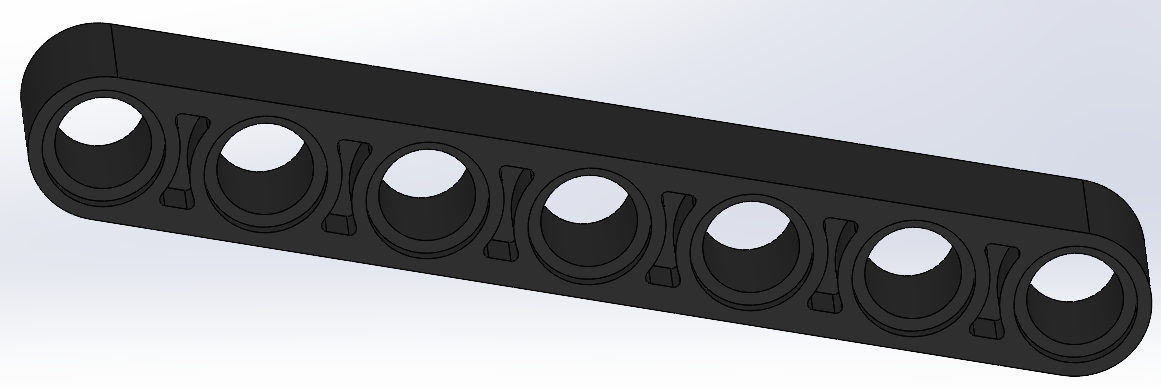 4495935
 4544432
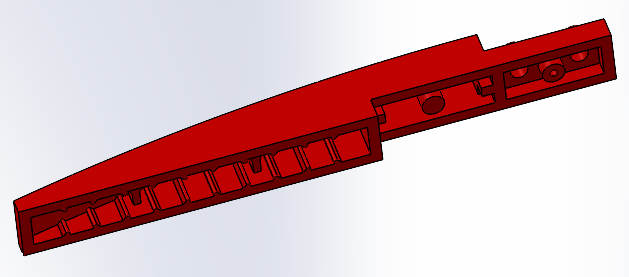 4571075
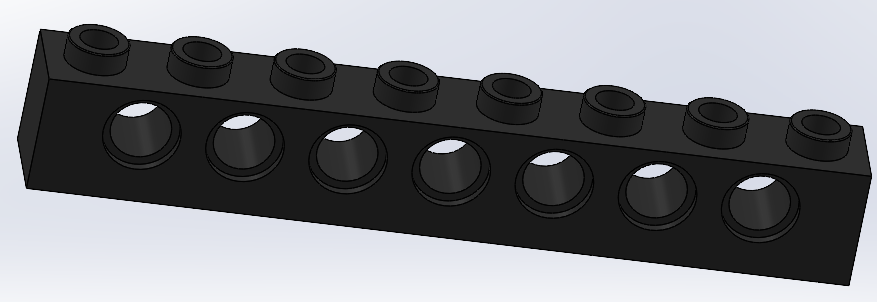 370226
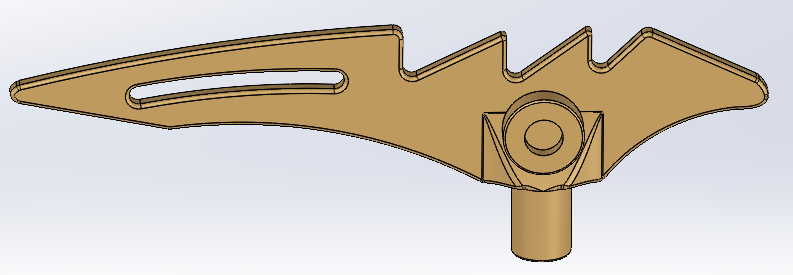 4646871
 4211805
 4646844
 4211815
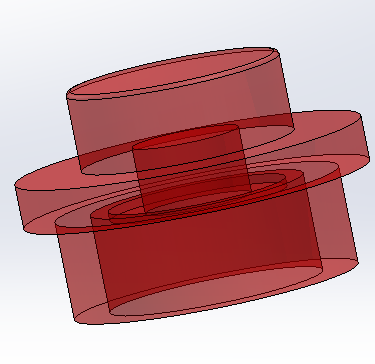 3005741
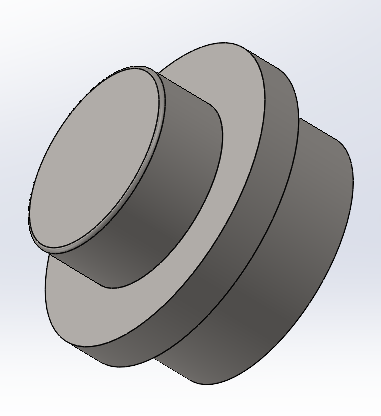 4633691
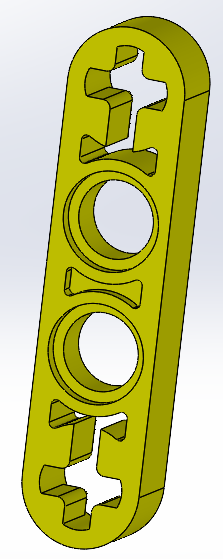 4199345
 4533742
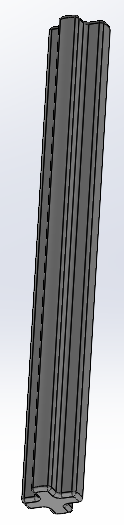 4211639
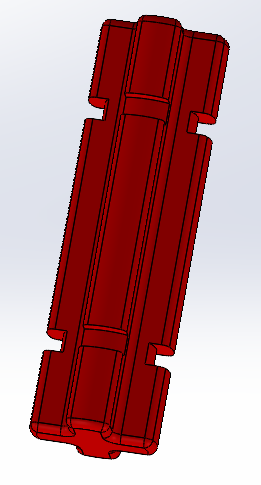 4142865
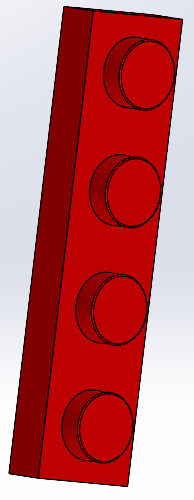 371021
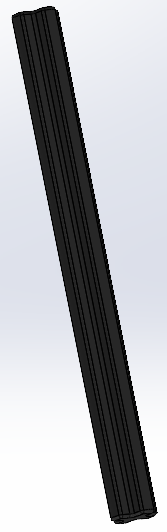 370626
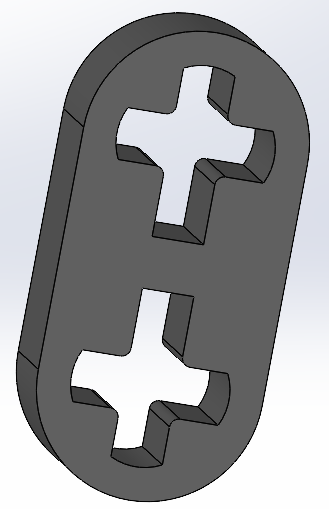 4210980
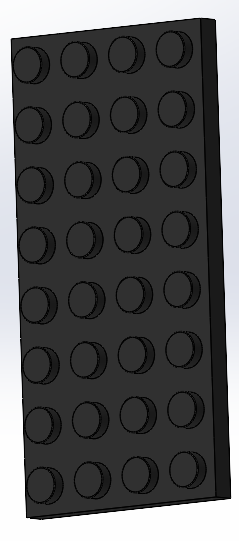 303526
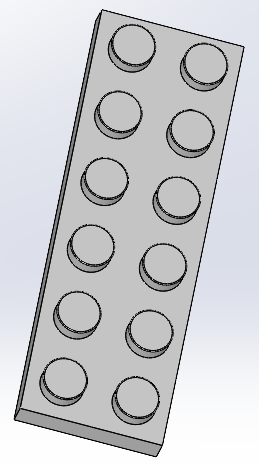 379501
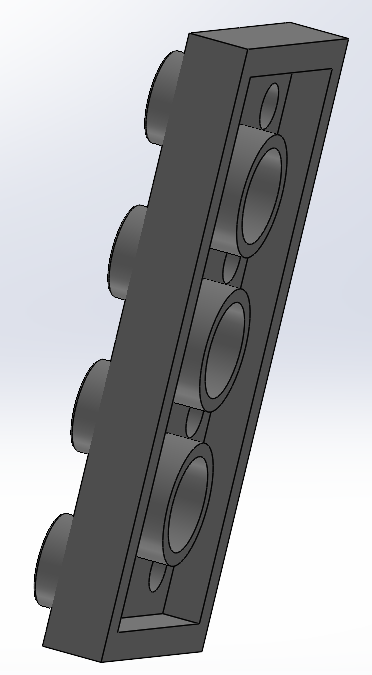 4211395